Introduction
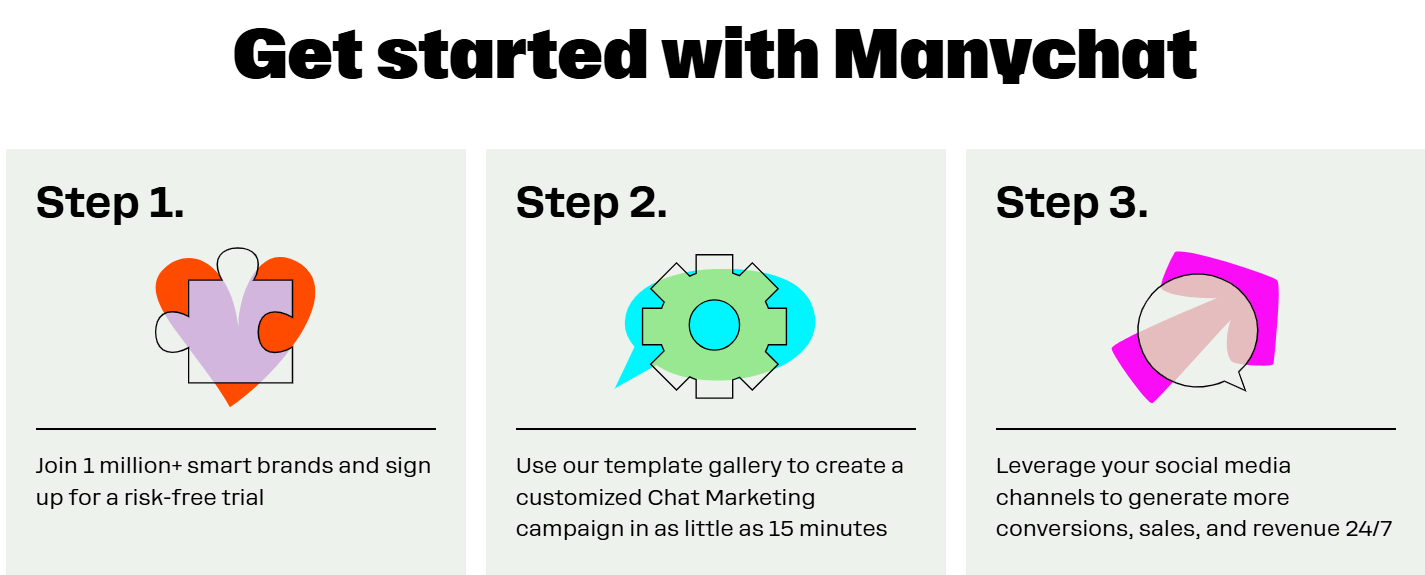
ManyChat is a powerful chatbot automation tool that allows businesses to engage with their customers on Facebook Messenger efficiently. With ManyChat, you can automate responses, generate leads, and enhance customer service without requiring constant manual intervention. In this tutorial, we will walk you through the step-by-step process of setting up ManyChat for Facebook Messenger.
Step 1: Create a ManyChat Account
- Visit ManyChat Website – Navigate to www.manychat.com and click on “Get Started Free.”
- Sign Up with Facebook – Click on “Sign in with Facebook.” Ensure that you are logged into the Facebook account associated with your business page.
- Grant Permissions – Allow ManyChat to access your Facebook pages and manage messages. Select the business page you want to connect with ManyChat.
- Confirm Connection – Once permissions are granted, ManyChat will link your Facebook page to its dashboard.

Step 2: Set Up Your ManyChat Dashboard
- Explore the Dashboard – Familiarize yourself with the ManyChat interface. The main sections include:
- Audience: Displays user interactions.
- Live Chat: Shows ongoing conversations.
- Growth Tools: Helps in expanding your chatbot reach.
- Automation: Allows you to create automated responses and flows.
- Broadcasting: Lets you send messages to your subscribers.
- Customize Settings – Go to “Settings” and configure details such as:
- Default Reply
- Welcome Message
- Time Zone and Language Preferences
Step 3: Create a Welcome Message
- Navigate to Automation > Welcome Message.
- Edit the Default Message. Introduce your brand and let users know how they can interact with the chatbot.
- Add Quick Replies. Provide clickable options for users, such as:
- “Learn More”
- “Get a Discount”
- “Contact Support”
- Save and Publish. Your welcome message will now be sent automatically to new users.
Step 4: Build Automated Flows
ManyChat’s Flow Builder allows you to create interactive conversations.
- Go to Automation > Flows > Create New Flow.
- Design Your Conversation Path. Add text messages, images, buttons, and actions.
- Set Conditions. You can create conditional logic based on user responses.
- Test Your Flow. Click “Preview” to test how the chatbot responds to user inputs.
- Publish the Flow. Once satisfied, activate the flow.
Step 5: Set Up Keywords for Automated Responses
- Go to Automation > Keywords.
- Create a New Keyword. Type in a keyword such as “pricing” or “help.”
- Set a Response. Choose from text replies, images, or directing the user to a specific flow.
- Save and Activate. Your bot will now respond when users type in these keywords.
Step 6: Use Growth Tools to Capture More Leads
- Go to Growth Tools.
- Select a Tool. Choose from options like:
- Facebook Comments Auto-Reply
- Messenger Ref URL
- Website Chat Widget
- Customize and Integrate. Design the tool’s message and embed it into your website or social media posts.
- Activate. Start capturing leads through Messenger.
Step 7: Broadcast Messages to Subscribers
- Go to Broadcasting > New Broadcast.
- Create Your Message. Use text, images, or videos to engage your audience.
- Segment Your Audience. Choose who will receive the message based on tags or conditions.
- Schedule or Send Now. Deliver your broadcast immediately or set a future time.
Step 8: Monitor and Optimize Performance
- Check Analytics. Visit the “Analytics” section to track message open rates, click-through rates, and engagement.
- Improve Based on Data. Adjust your flows and responses based on performance metrics.
- Use A/B Testing. Experiment with different message formats to determine the most effective strategy.

Conclusion
Setting up ManyChat for Facebook Messenger enables businesses to automate customer interactions, improve engagement, and drive sales. By following these steps, you can create a seamless chatbot experience that enhances customer satisfaction and efficiency. Start implementing ManyChat today to take your Facebook Messenger marketing to the next level!


